Antons Video Productions
20 Solander Ave
West Hoxton 2171 NSW, Australia
+612 9825 9999
EDIUS 5 Layout Tool Basics
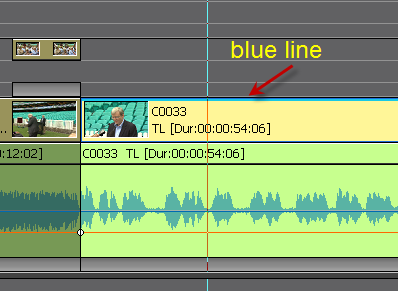
The EDIUS 5 Layout tool is handy for changing position and size of a clip and then quickly applying the same layout to any or all other clips in one hit. After a layout change is made, a blue line is seen on top of the clip as an indicator. (same as if a video filter is applied)
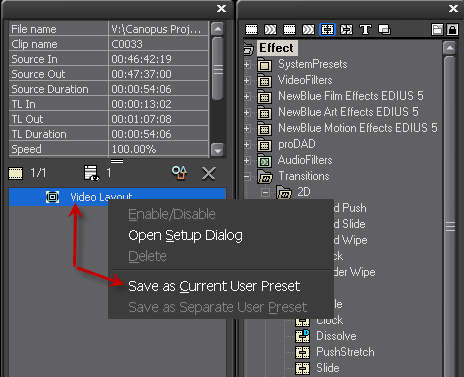
Now right click the layout in the info palette and save as user preset, then you can apply it to any or all selected clips in one simple drag and drop. Or you can drag it from the info palette of current clip to any other clip.
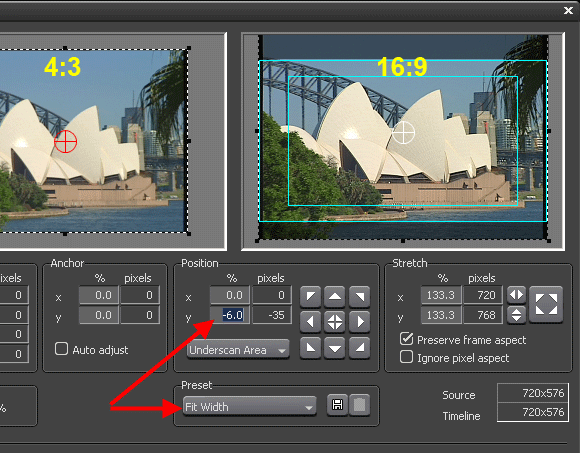
A common use of the layout tool could be to scale 4:3 clips to 16:9. In such a case, select fit to width from Preset dropdown, then adjust vertical position so no heads are cut off etc. You will need to apply a sharpness filter with around 12% to compensate for the loss of sharpness caused by the 4:3 to 16:9 upscaling.
Another common use is to create Picture in Picture effects or cropping unwanted areas.
Sometimes a layout is accidentally changed by a pixel here and there, this could reduce realtime playback performance, in that case, you can preset to default. For best realtime performance, Source and Timeline size should match, see below.
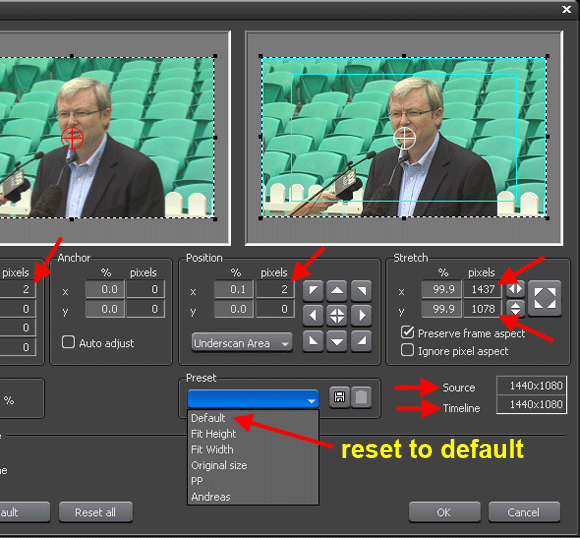
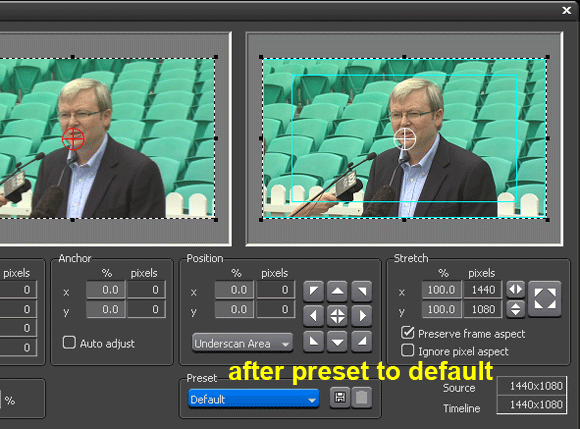
If you need to preset many or all clips to default, simply make the change to one clip, save it as User preset and apply it to all selected clips in one hit, then all blue lines will disappear unless video filters are also present.
Back to Non-Linear and other Tutorials